
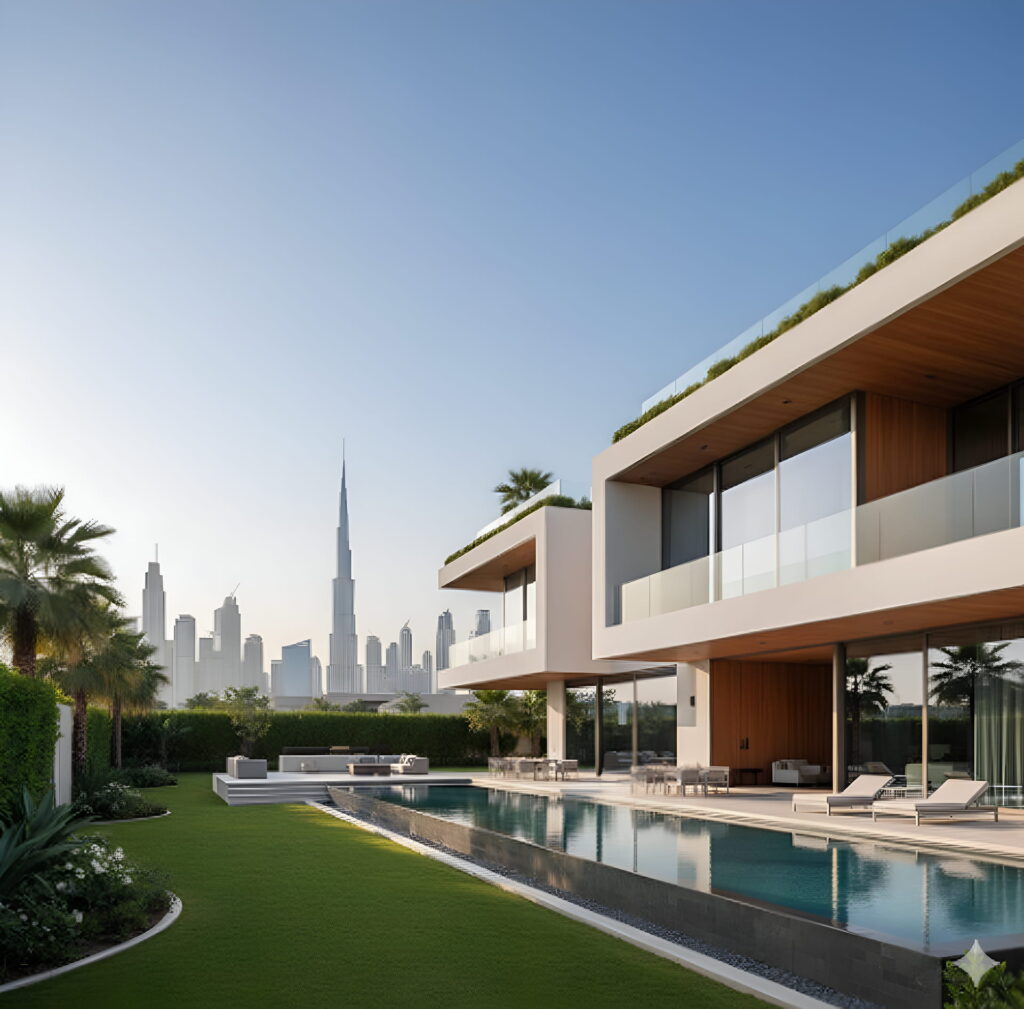
What does it truly take to turn your current villa into the dream home you have always envisioned? The journey of transforming a space is exciting, but one of the biggest questions on every homeowner’s mind is always about time. Understanding the timeline for Villa Renovation Projects in Dubai is the first step to a successful and stress-free experience. Unlike simpler projects, a villa renovation involves multiple stages, each with its own schedule, and being prepared for this process is key. This guide will walk you through a realistic phase-by-phase timeline, giving you a clear picture of what to expect from the first idea to the final day you move back in.
Why a Realistic Timeline is Your Best Tool
Creating a realistic timeline is not about guessing how long things will take. It is about setting proper expectations and planning your life around the project. A well-structured timeline helps prevent rushed decisions, reduces stress, and allows for better budgeting. It also helps you manage your relationship with your contractor, as everyone agrees on the major milestones from the beginning. In Dubai, specific factors like permit approvals from authorities such as Dubai Municipality and the availability of materials can influence the schedule. Knowing these factors upfront helps you build a timeline that is both ambitious and achievable, ensuring your project stays on track.
Phase 1: The Planning and Design Stage (4-8 Weeks)
Before any demolition begins, the most critical work happens on paper. This initial phase is all about making decisions and getting official approvals. You will work with your designer to create detailed drawings that include floor plans, electrical layouts, and plumbing schemes. This is when you explore all your interior Villa design ideas and finalize the overall look and feel. Once the designs are complete, they are submitted to the Dubai Municipality for a renovation permit. This approval process can take several weeks, as the authorities carefully check that all plans meet local safety and building codes. Rushing this stage often leads to problems and delays later on.
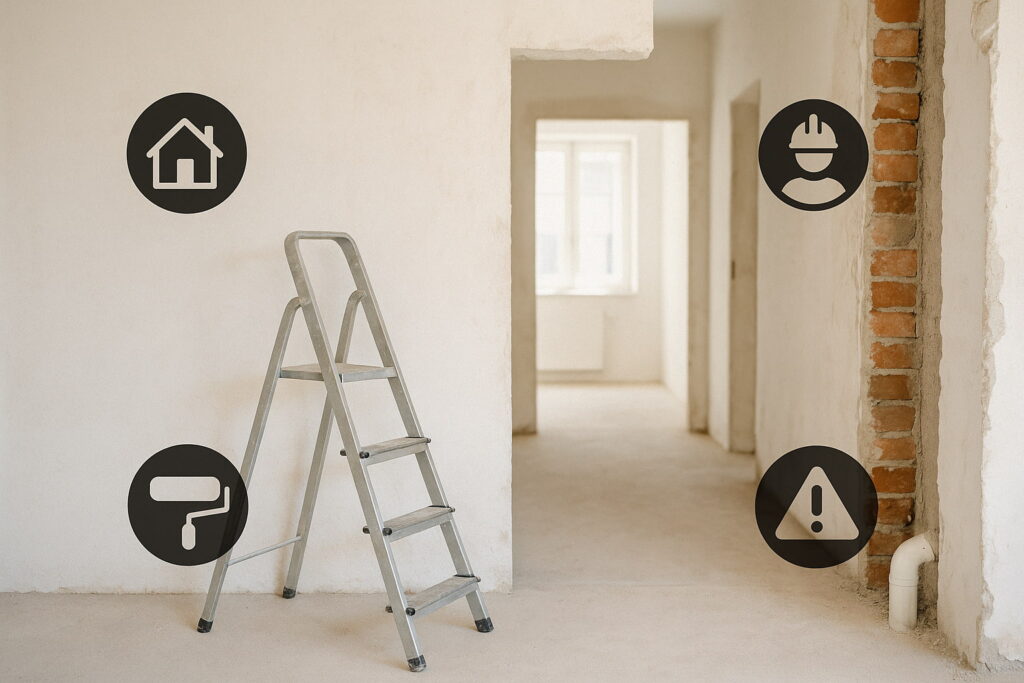
Phase 2: The Demolition and Structural Work (2-4 Weeks)
With the permit in hand, the physical transformation of your villa begins. The first step is demolition, which involves carefully removing old flooring, kitchens, bathrooms, and any walls that are slated for removal. This phase is messy and loud, but it is the blank canvas for your new design. If your project includes any structural changes, such as removing or adding load-bearing walls, this is when that work is done. This step requires precision and must be supervised by a certified structural engineer to ensure the villa’s integrity is maintained. All debris is systematically cleared from the site, preparing the space for the new construction to start.
Phase 3: MEP Infrastructure Installation(3-5 Weeks)
Once the structure is defined, the focus shifts to the hidden but essential systems of your home: Mechanical, Electrical, and Plumbing (MEP). This stage is often called the “rough-in” because all the wires, pipes, and ducts are installed inside the walls and floors before they are covered up. Electricians will run new wiring for lights, sockets, and switches. Plumbers will install new water supply and drainage lines for the bathrooms and the kitchen. HVAC technicians will set up the ductwork for your air conditioning system. This phase requires close coordination between different teams of specialists and must be inspected before walls are closed.
Phase 4: Creating the Framework for Finishes(3-4 Weeks)
After the MEP systems are in place and approved, the villa starts to take its new shape. Masons will build any new partition walls with blocks. Then, all walls and ceilings are plastered to create a smooth, even surface. This is also the stage where false ceilings are installed. These ceilings are important for hiding lighting fixtures, AC vents, and wiring while adding to the aesthetic appeal of your home. The space begins to look like rooms again, though it is still just a shell. The quality of work in this phase is crucial as it forms the base for all the finishing touches to come.
Phase 5: The Finishing Touches – Flooring, Tiling, and Painting (4-6 Weeks)
This is where your villa truly starts to look like the home you imagined. The finished surfaces are applied, bringing color and texture to the space. Painting is usually done first on the walls and ceilings. Then, tilers lay the floor tiles and wall tiles in bathrooms and kitchens. This work requires a clean environment and a skilled hand to ensure perfect alignment and a professional finish. Meanwhile, carpenters may begin installing built-in wardrobes and kitchen cabinets. This phase is very detailed and can feel slow, but patience here makes a huge difference in the final quality and appearance of your home.
Phase 6: The Final Installations and Second Fixes (2-3 Weeks)
With the painting and tiling complete, the electricians and plumbers return for the “second fix.” This involves installing all the visible elements like light fixtures, faucets, shower systems, toilets, and sink basins. The kitchen cabinets are finalized with countertops, and appliances are connected. Bathroom vanities and mirrors are put in place. Doors and windows are fitted with their handles and locks. Each day during this phase, you will see dramatic progress as all the carefully selected components come together to create a fully functional and beautiful living space.
Phase 7: The Final Snagging and Handover (1-2 Weeks)
The renovation is nearly complete, but the last step is just as important. This is the snagging phase, where you and your project manager conduct a detailed inspection of the entire villa. The goal is to create a “snag list” of minor issues that need correction, such as a tiny paint touch-up, a loose tile, or a door that doesn’t close perfectly. The contractor will address every item on this list. Once all snags are fixed, a final cleaning is done to make the villa spotless. You will then do a final walkthrough, and upon your satisfaction, the project is officially handed over to you, ready for you to move in and enjoy.
Factors That Can Influence Your Timeline
It is important to remember that every villa renovation is unique. Several factors can cause the timeline to extend. The size and complexity of your villa are the most obvious factors. A larger villa simply takes more time. The scope of work is another key factor; a cosmetic update is faster than a full gut renovation with structural changes. The efficiency of your chosen contractor and the speed of decision-making from your side also play a huge role. Finally, unforeseen issues, like discovering hidden plumbing problems during demolition, can add time to the schedule.
Conclusion: Your Journey to a Dream Villa with Rawaa Interiors
A villa renovation is a significant undertaking, but with a clear timeline and an expert partner, it can be a smooth and rewarding journey. Understanding each phase helps you see the progress and manage expectations. For a seamless experience from concept to completion, partnering with a professional team like Rawaa Interiors is the best decision. As a recognized leader, we bring meticulous planning, deep knowledge of local regulations, and a commitment to quality that ensures your Villa Renovation Project in Dubai is delivered on time and to the highest standard. Let us guide you in creating a home that reflects your style and meets your family’s needs. Contact Rawaa Interiors via interiorsbyalrawaa@outlook.com or +971 50 222 8146 or +971 52 934 3293.